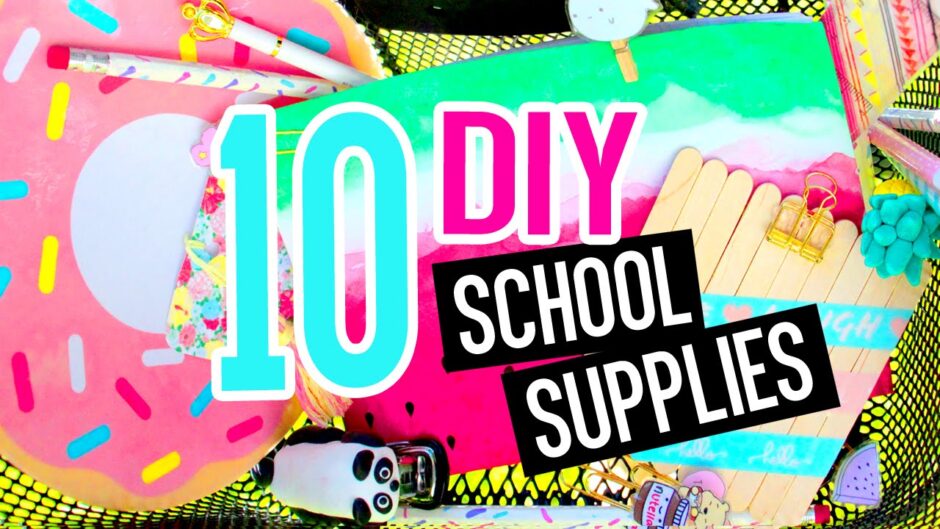
DIY!!
Hey guys!
This video is a collab with my youtube friend Sara beauty corner, she also made 10 DIY back to school supplies ideas!
Check Sara’s video here: https://www.youtube.com/watch?v=TW3Vra8Ccis
If you like Back to SChool DIYs watch my new vid! Here’s the link:
Donut mousepad:
You will need, a plain mouse pad, some printed donut, book covering plastic, scissors and glue.
The one I’m using is:
http://chicfetti.com/parties/printable/donut-banner/
Cut it out and stick it to the mouse pad. Take your plastic and cover the entire thing. An easy hack for a perfect finish is using a card like so. Cut out the leftover plastic and it’s all done!
Sprinkle pencils:
You will need: some plain pencils, and some acrylic paint in your favorite colors.
Paint the pencil with a light color,. An easy hack to hold it in place while is drying is using a clothes pin. Now take some toothpicks and make some little lines with the rest of the colors so they look like cute candy sprinkles.
Panda stapler:
You will need: a plain stapler, and some air drying clay in black and white.
I’m using:
https://www.google.es/search?q=magic+dough&safe=active&client=firefox-b&tbm=isch&imgil=VvhSHMH5GPfc6M%253A%253B0TDG3MREwfITWM%253Bhttp%25253A%25252F%25252Fwww.liderpapel.com%25252Fes%25252Fproducto%25252Fpasta-alpino-para-modelar-magic-dough-animals-caja-de-6-colores-de-40-gr&source=iu&pf=m&fir=VvhSHMH5GPfc6M%253A%252C0TDG3MREwfITWM%252C_&usg=__BcFabv1KfvwQ3ielmbQAv7vXw3M%3D&biw=1366&bih=589&ved=0ahUKEwj89vCkmbfOAhUFVxQKHT2lAwsQyjcIKQ&ei=zEyrV_zgIYWuUb3Kjlg#imgrc=VvhSHMH5GPfc6M%3A
Take a piece of the white clay and cover the top part of the stapler, make it smooth and make sure that you can still open and close the stapler. With the black clay make two little half circles for the ears, bean like shapes for the arms, and also for the legs. Make a little ball for the tail, and give it a cute face. Let it dry.
Clips and pins:
you will just need: some printed pics paper clips and book covering plastic. You can find these ones on Google images writing cute cartoon tumblr (similar here):
https://www.google.es/search?q=tumblr+png+cute&safe=active&client=firefox-b&tbm=isch&tbo=u&source=univ&sa=X&ved=0ahUKEwjE7Lu9jbzOAhXGNxQKHRbiCtAQsAQIHQ&biw=1366&bih=589#safe=active&tbm=isch&q=tumblr+cute+cartoon+png
Take a little piece of plastic and cover the little pics, first the front and then the back, and cut the excess leaving a little bit of edge. Finally just glue that to the clip adding a dot of hot glue and your cute clip is ready to be used!
Watermelon notebook:
You will need: a plain notebook and some paint. To make the watercolor effect, add some water to a tiny bit of paint.
Cute ruler:
Another useful supply is this ruler and you will need: scrapbook paper, a plain ruler, a cuter and glue.
Pineapple flash drive:
You will need: a tiny usb and air clay in yellow and green.
Start covering the bottom part of the usb with the yellow clay. Give it an oval shape and then with help of a knife make some lines so it looks like a pineapple. Once you are happy with the result let it dry and the the little lid. We need to cover it with the green clay. Make little cone-like shapes to represent the leaves and add them all around the lid.
Tassel bookmark:
You will need: a printed pic, embroidery thread and scissors.
Let’s start making the tassel of our bookmark. For that, wrap the thread around your fingers like so, until the loop is pretty full. Take another piece of string a thread it through the loop we just created and tie a knot. Take one more piece of string and wrap it around the top part of the loop as I’m doing in the video. Secure with a knot and cut the excess. Cut the bottom of the loop and your little tassel is finished. Now, cut the printed picture or some scrapbook paper and I decided to round the edges but you can leave them as they are if you want and punch a hole at the top. Thread and secure the tassel.
Cute clipboard:
You will need: some craft sticks, a binder clip and washi tape.
Place the sticks in a row and line them with the help of two more sticks. Glue another stick in diagonal to hold it in place, and break some more stick and glue them down too. Now glue the binder clip, this one is from tiger and decorate the clipboard with some washi tape, stickers or anything you want.
Music by: youtube library and: https://www.youtube.com/watch?v=hKitZEncwro
Overlays by Gabrielle Marie at: https://www.youtube.com/user/GlamSolutions
More DIYlover at:
Twitter: https://twitter.com/DIYlover89
Instagram: http://instagram.com/diylover89
Tumblr: http://diylover89.tumblr.com/


I absolutely LOVE the watermelon journal and the popsicle stick clipboard!! Definitely going to try these!!
P.s
I ❤️ your videos and im jeaulous of your nails!! 😜
I love your videos! All your DIYs are so unique and unlike any other. I’m so excited you’re back! Xx ❤️❤️
I loved all of these awesome ideas, Sue! I can really tell how hard you worked on the video – it turned out amazing. So glad that we finally collabed, I had a great time <3
I saw this video, and immediately made the small clip board thingy, AND I WORKS GREAT THANKS FOR SHOWING US HOW TO MAKE IT! 😀
the mouse mat is so cute! x
Admiro el valor que le has echado al hacer un vídeo entero en inglés! Es algo que me he planteado alguna vez pero jamás me he lanzado, ya que al ser española se me notaría el acento y bueno no me sentiría tan segura, porque ademas de exponerme en Internet lo estaría haciendo en un idioma que no es mi lengua materna y eso que he estudiado filología inglesa xD. Sigue así!
I really love the way you are explaining steps! Really really clear and well!
If you liked this WATCH HERE my new VIDEO: https://www.youtube.com/watch?v=2fdIsDeP38M
😉😉😉😉😉😉😉😉😉😉😉😉😉😉😉😉😉😉😉
Absolutely Amazing! I love these DIY’s and i’m so glad you made this video a colab Sara. She is amazing too. Keep up the terrific work girls!!!! 😄😃😆😄😃😆😄😃😆😄😃😆😄😃😆😄😃😆
Donut Mousepad: 0:56
Sprinkle Pencils: 1:31
Panda Stapler: 2:07
Customized Paper Clips: 2:43
Watermelon Notebook: 3:24
Customized Ruler: 4:15
Pineapple USB Drive: 4:50
Bookmark: 5:41
Mini Clip Board: 6:48